If you’ve already restarted your computer and ruled out temporary bugs and glitches, it’s time to dive into advanced troubleshooting. Below are some troubleshooting tips that should help you fix optional features not installing on Windows 11 issue.
Why Windows 11 Fails to Install Optional Features
It’s very easy to install optional features on Windows. But sometimes, the installation might fail due to corruption in the important system files or the Windows Update components. The issue will also likely occur if the metered connection is enabled on your computer. Fortunately, it’s a cakewalk to troubleshoot this problem. Let’s check out all the working solutions that will help you in this situation.
1. Disable Metered Connection
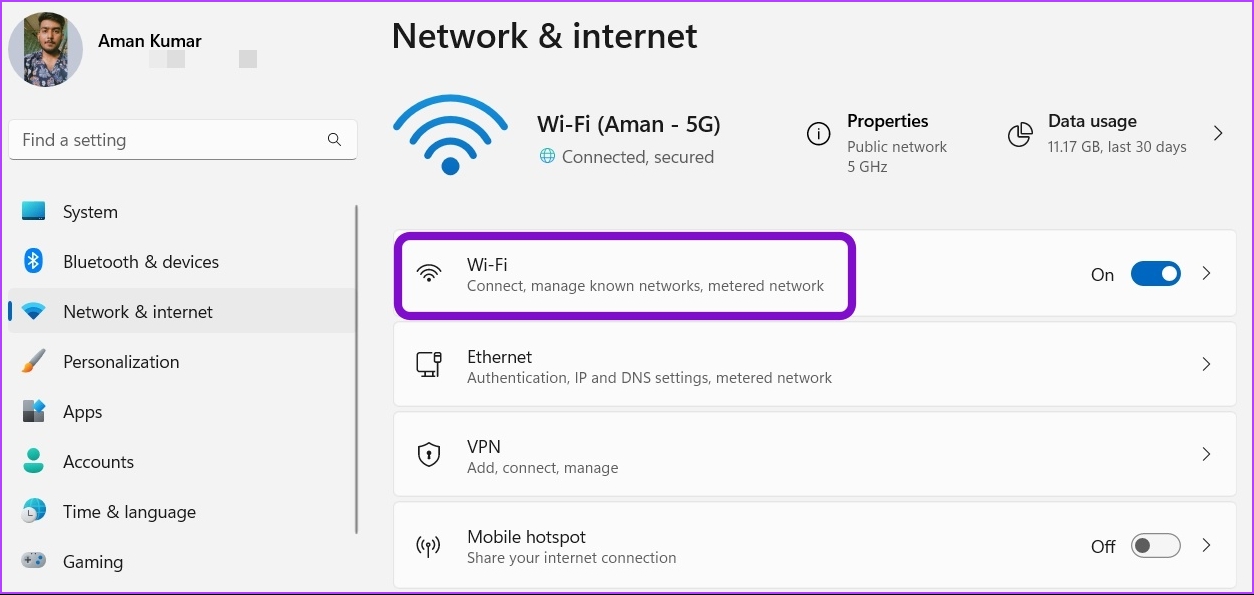
Windows has a metered connection feature that reduces data consumption and helps save up on internet bills. This feature is helpful to everyone on a limited internet data usage plan. But like most Windows features, it also has its downside. To save data, the metered connection can stop your computer from downloading files required to install the optional feature. So, you’ll need to disable metered connection if you are on unlimited data plan and want hassle-free installation of Windows updates and optional features. Here’s how you can disable metered connection on Windows 11. Note that you’ll need administrator rights on Windows 11. Step 1: Press Windows + I keys shortcut to open the Settings app. Step 2: Click Network & internet option from the left sidebar.
Step 3: Click on Wi-Fi on the right pane and select the Wi-Fi connection you use.
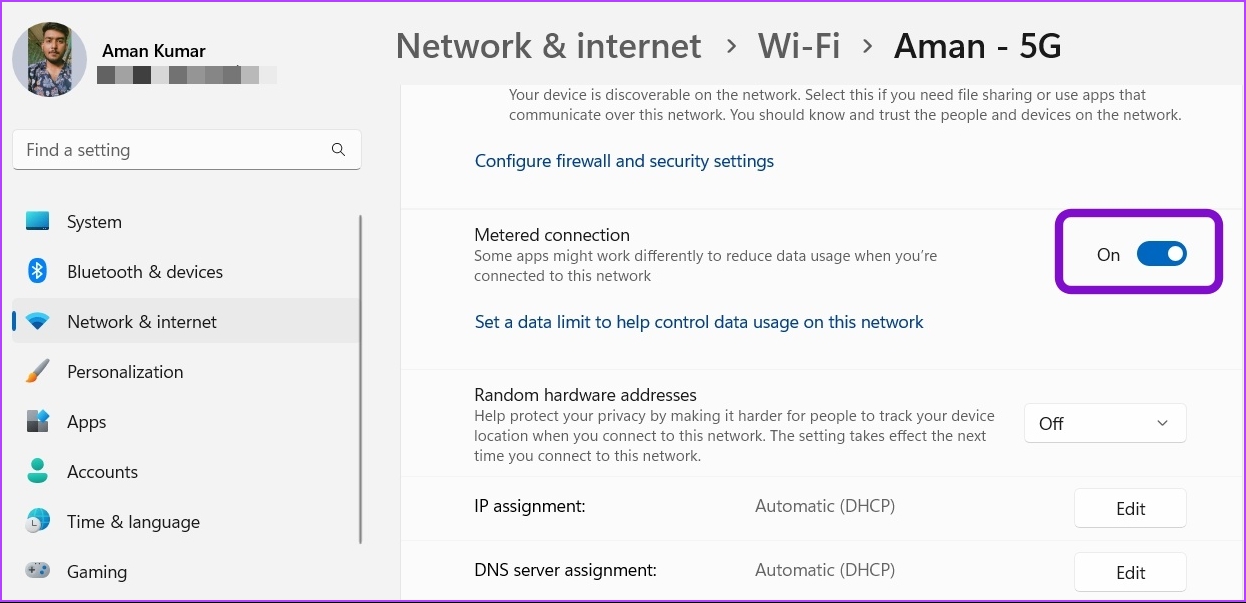
Step 4: Scroll down and turn off the toggle next to the Metered connection option.
2. Run the SFC and DISM Scan
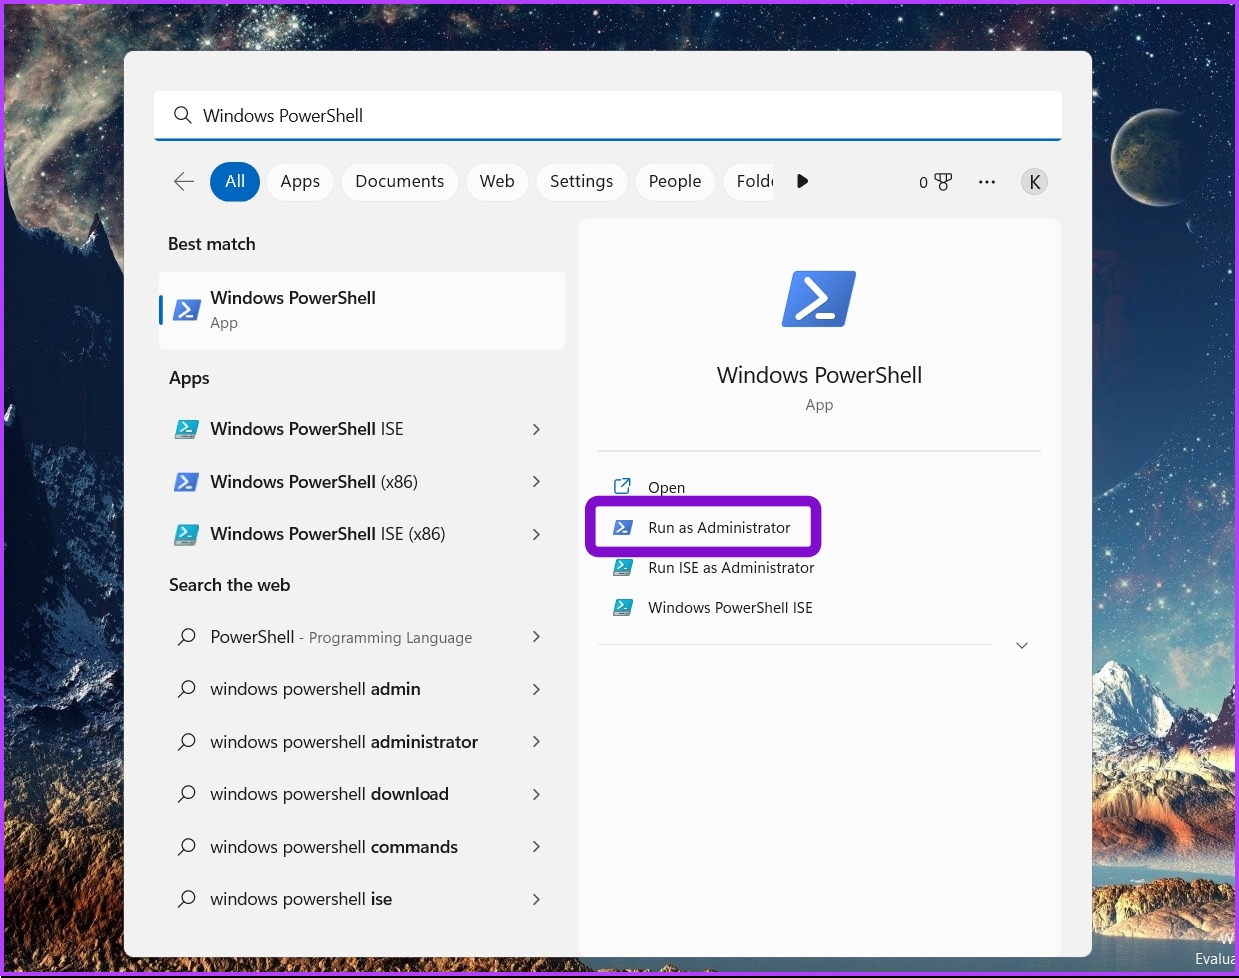
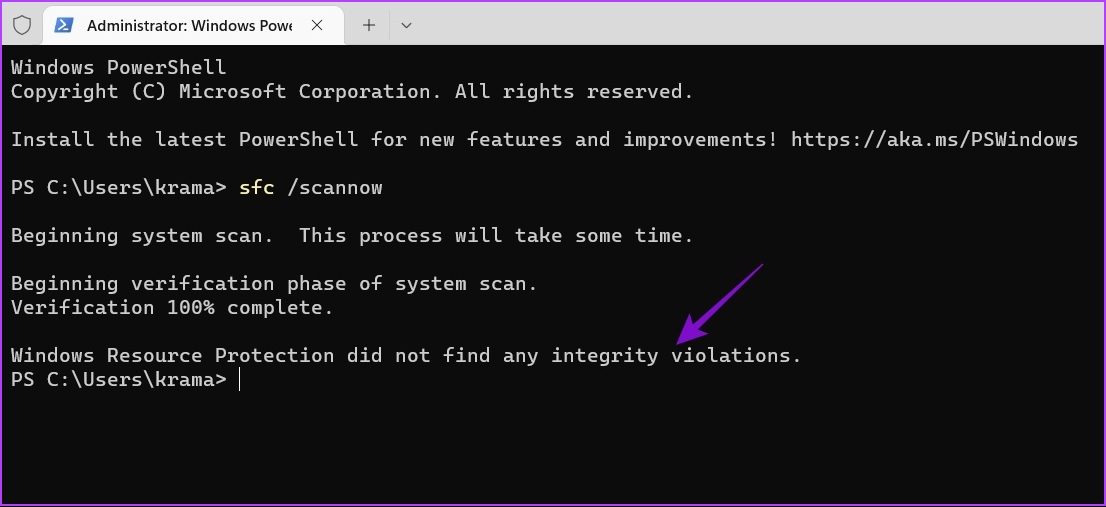
At times, Windows 11 will fail to install optional features due to corruption in the system files. The System File Checker (SFC) scan is a built-in Windows utility that helps you find and repair damaged system files on your computer automatically. Ensure that you’re using an Administrator account and follow the below steps to run an SFC scan. Step 1: Press the Windows + S hotkeys to open the Search menu, type Windows PowerShell in the search bar and choose Run as administrator from the right pane.
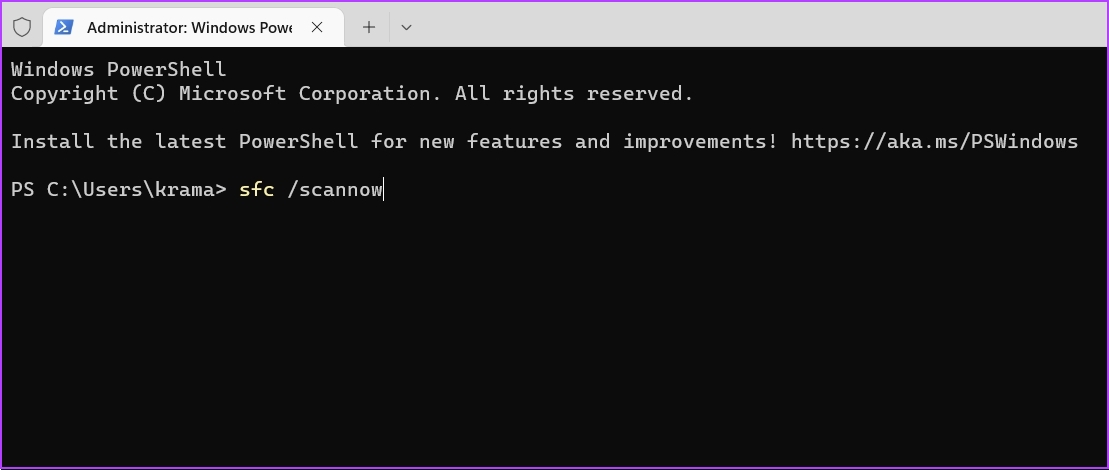
Step 2: Click Yes on the User Account Prompt pop-up. Step 3: Type the following command in the console and press Enter. The scanning process may take some time. After it completes, a message will appear indicating whether the scan found any problems and could repair them.
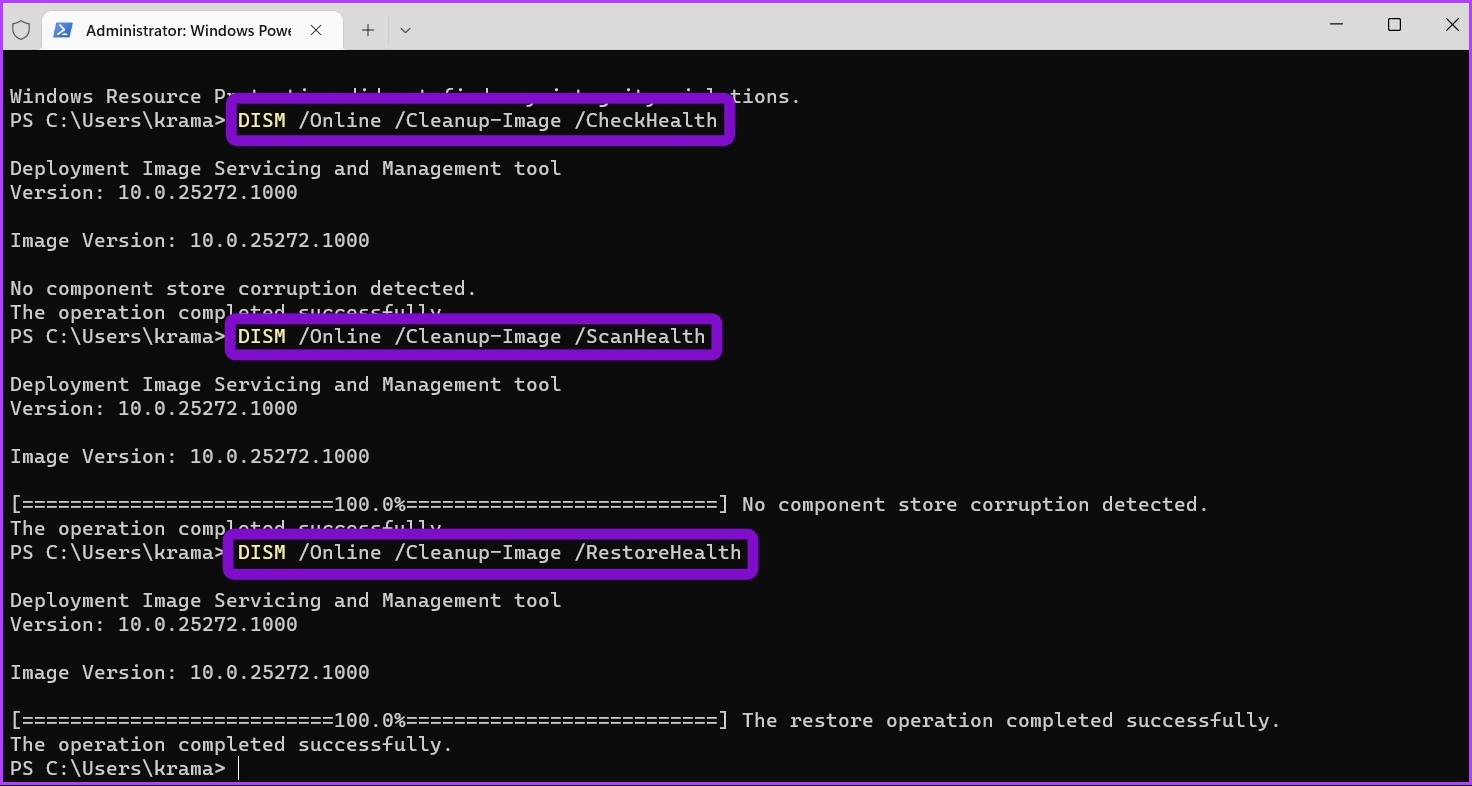
If running the SFC scan wasn’t helpful, consider running the Deployment Image Servicing and Management (DISM) scan. It is another Windows utility that scans for potential issues in the Windows OS that can impact its functioning and attempts to repair the corrupt file when your computer is connected to a working network. To run the DISM scan, open the Windows PowerShell with administrative rights again, run the following commands one by one, and press Enter after each command: Now, restart your computer and try to download the optional features again.
3. Use the Windows Update Troubleshooter
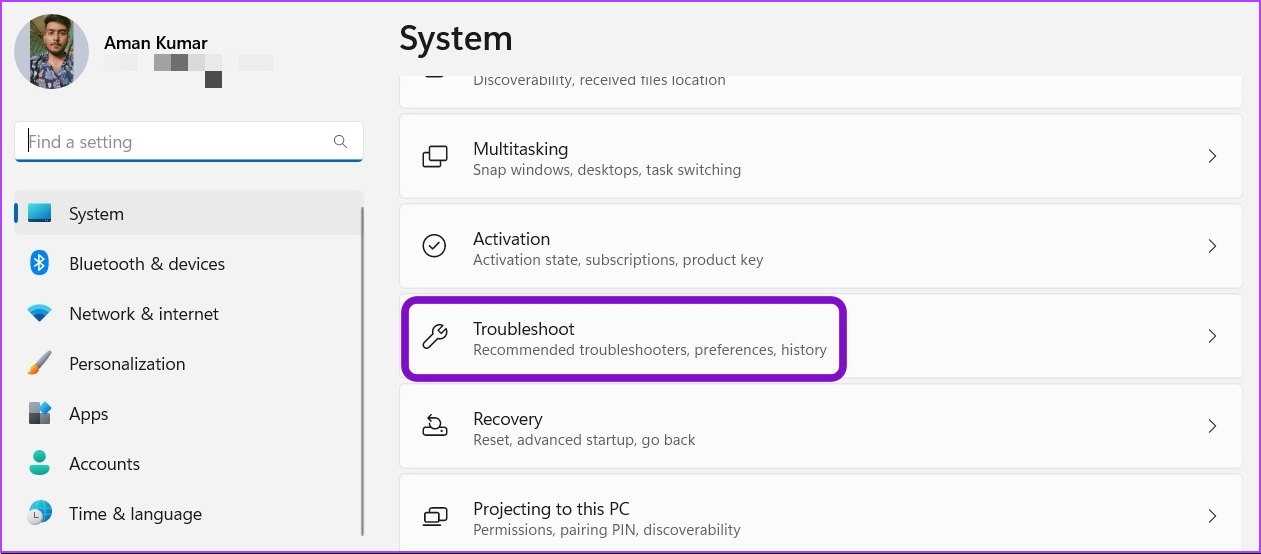
Windows offers various troubleshooters that can be helpful in different situations. You can use the Windows Update troubleshooter to eliminate optional features not installing issues. Here’s how to use it. Step 1: Open the Settings app and choose System from the left sidebar. Step 2: Select the Troubleshoot option in the right pane.
Step 3: Choose Other troubleshooters. Step 4: Click the Run button next to Windows Update.
The Windows Update troubleshooter will appear and start looking for issues. If it finds any, it will automatically fix it without much user input.
4. Temporarily Disable the Security Program
The default security program can sometimes consider the optional features as malware and stop them from installing. If you’re sure the feature is safe for your computer, you can disable the security program and allow the installation. If you’re using Windows Security as the default security app, here are the steps to disable it. Step 1: Press the Windows + S keys to open the Search menu, type Windows Security in the search bar and press Enter.
Step 3: Choose Virus & threat protection from the left sidebar.
Step 4: Choose Manage settings.
Step 5: Turn off the toggle under ‘Real-time protection.’
Step 6: Click Yes on the User Account Control window that pops up. That will disable the Windows Security till you restart your computer and activate it again. Try to install the optional features again and check if the problem persists. To disable a third-party security application on your computer, right-click on its icon present in the system tray area and choose the Disable option.
5. Change the Status of Important Windows Services
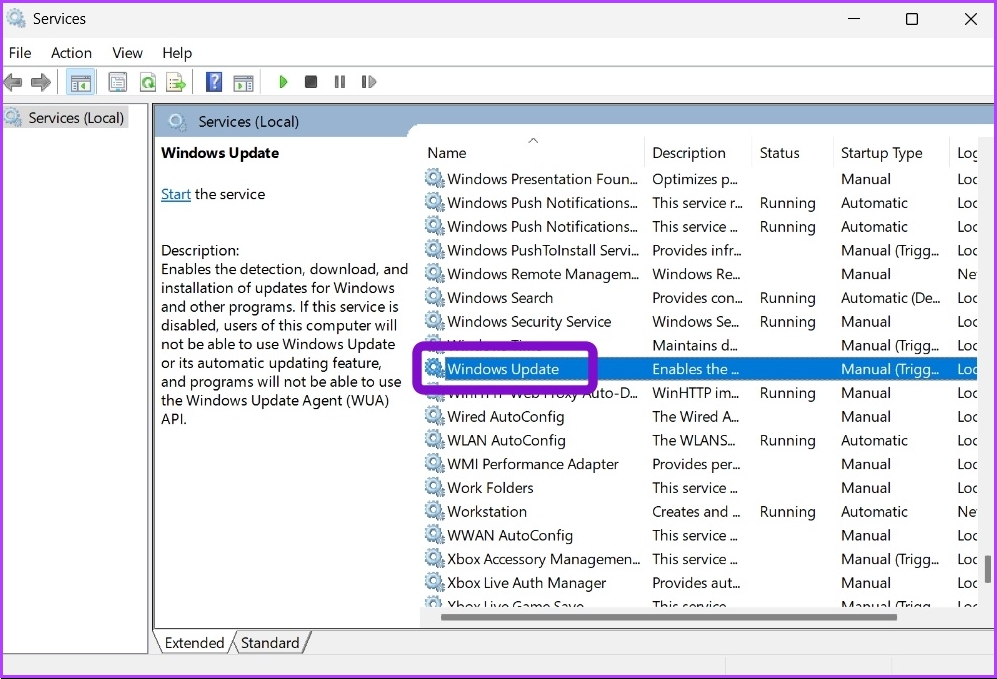
There are certain services that must be enabled and running in the background if you want to install Windows updates and optional features on your computer. These services are: Windows Update Service, Background Intelligent Transfer Service, and Windows Modules Installer Service. To check and change the status of those services, follow the steps below. Step 1: In the Windows Search menu, type Services and press Enter. Step 2: Scroll down till Windows Update service and double-click on it.
Step 3: In the Windows Update Properties window, use the drop-down next to Startup type and select Automatic. Then, click the Start button under Service status.
Step 4: Click Apply and then OK to save the changes. Next, repeat the above steps for Background Intelligent Transfer Service and Windows Modules Installer Service to set their Startup type to Automatic. Check our post if Services is not opening on Windows 11.
6. Reset the Windows Update Components
Are you still facing the issue? There’s probably corruption in the Windows update components is causing a problem. You can reset the Windows update components, which will stop the Windows update services, flush the content of the SoftwareDistribution and catroot2 folder. After that, restart the Windows update services. Note that it won’t delete any data, but only the partially downloaded update files on Windows PC. But don’t worry. After you reset Windows Update components, the service will download fresh and complete new copies of the files to install them on your Windows computer. To reset the Windows update components, follow the below instruction. Step 1: Open the Search menu, type Windows PowerShell in the search bar and select Run as administrator option in the right pane.
Step 2: In the PowerShell window with administrative privileges, run the following commands one by one, and press Enter after each command
After that you may want to run the Windows Updates from the Settings app.
Enjoy Additional Features on Windows 11
Windows offers plenty of optional features you can install to improve productivity. But sometimes, Windows 11 might fail to install these features on your computer. Luckily, you can solve this issue using the above fixes.