Several factors can prevent your deleted files from showing up in the Recycle Bin. Here’s how to resolve such issues and restore your deleted files from Recycle Bin without hassle.
1. Check if Recycle Bin Is Configured Correctly
If you cannot find your deleted files in the Recycle Bin, check is if the Recycle Bin is configured correctly. If it’s set to purge the files immediately whenever you delete them, you won’t find them in the Recycle Bin. To check the configuration of the Recycle Bin on your computer, follow these steps: Step 1: Press the Windows + S keys and type Recycle Bin. Then, from the result for Recycle Bin, click on Open. Step 2: When the Recycle Bin opens, click on the three horizontal dots menu from the toolbar in the top-right corner and select Properties. Note: You can also access Recycle Bin Properties by right-clicking the Recycle Bin icon on your desktop and selecting Properties. Step 3: In the Recycle Bin Properties window, check if the radio button next to ‘Don’t move files to the Recycle Bin. Remove files immediately when deleted’ is selected. If it is, choose the radio button next to Custom size option and enter a good four or five digits value, depending on your storage. Then, click on Apply to save the changes.
2. Disable or Reconfigure Storage Sense
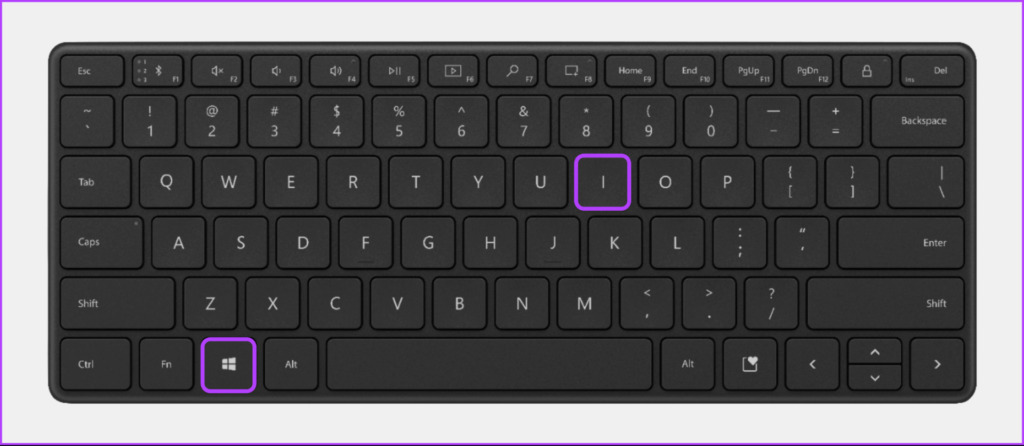
Another possible explanation for why you cannot find your deleted files inside the Recycle Bin is that Storage Sense might’ve permanently deleted them. While Storage Sense in Windows can help free up some disk space when your computer’s running low on storage, enabling it automatically empties the Recycle Bin. If you want to keep your deleted files around for a while, you’ll need to disable Storage Sense or reconfigure it to never clear the Recycle Bin. Here’s how you can do that. Step 1: Press the Windows + I keys to open the Settings app. Step 2: When the Settings app opens, select System on the left sidebar and click Storage in the right pane. Step 3: Turn off the toggle next to Storage Sense. If you find Storage Sense useful and don’t want to turn it off, you can move on to the next step and reconfigure the settings for Storage Sense so that it doesn’t clear the Recycle Bin automatically. Step 4: Click the Storage Sense to configure it. Step 5: Click the drop-down for ‘Delete files in my recycle bin if they have been there for over:’ and select Never. That means, the deleted files will show up in the Recycle Bin and will continue to be there till you delete them manually.
3. Increase the Maximum Storage Size of Recycle Bin
By default, the Recycle Bin can only store files that add up to less than 5 percent of the hard drive’s total storage capacity. If the deleted files exceed this limit, they won’t go to the Recycle Bin. Instead, those files are permanently removed from your computer. If you’re experiencing similar issues while deleting large files on your computer, you can override the default Recycle Bin settings to accommodate larger files inside the Recycle Bin. Step 1: Press the Windows + S keys to open Windows Search and type Recycle Bin. Then, from the result for Recycle Bin, click on Open. Step 2: When the Recycle Bin opens, click on the three horizontal dots menu in the top-right corner and select properties. Note: You can also access Recycle Bin Properties by right-clicking the Recycle Bin icon on your desktop and selecting Properties. Step 3: Click on the text box beside Maximum Size (MB) and type in a value that’s higher than the default size. Then, click on Apply to save the changes.
4. Reset the Recycle Bin
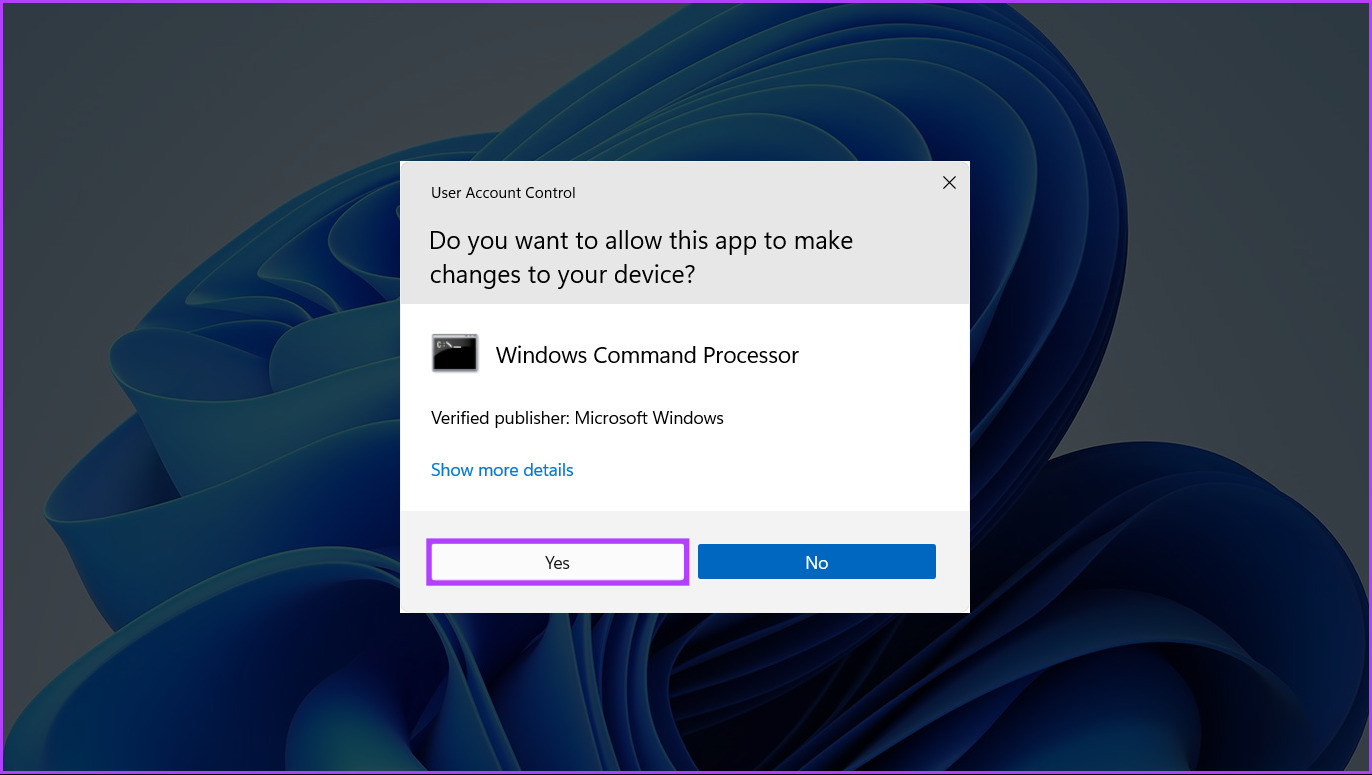
If none of the previous solutions work, the Recycle Bin on your computer may have become corrupt. To fix this issue, you need to reset the Recycle Bin using the Command Prompt. Here’s how you can reset the Recycle Bin on your Windows 11 computer: Step 1: Press the Windows + S keys and type Command Prompt. Then, from the results for Command Prompt, click on Run as administrator. Step 2: Click on Yes when a User Account Control (UAC) prompt appears on the screen. Step 3: Type the following command into the Command Prompt window and press Enter to reset the Recycle Bin. Then repeat the same command for every drive on your computer by replacing the letter C with the other drive’s drive letter. Running this command deletes the corrupt all directory/folders for the Recycle Bin, forcing Windows to recreate a fresh directory .
Restoring Deleted Files Made Easy
The chances of facing such a situation are fairly slim. Hopefully, the solutions mentioned above will help you fix the when deleted files are not appearing in the Recycle Bin. Meanwhile, you can also look at our guide on emptying Recycle Bin if you need help with that on your Windows 11 computer.